Setting up Storybook for React Native
This is a crosspost from Sophie's Blog.
Storybook is a tool for documenting a design system and developing modular apps. It is popular in the web development community and I’ve used it in all my bigger projects. So when I transitioned from web development to working on a React Native codebase, I set up Storybook too. Here’s how I did it:
Setting up the Storybook UI
1. Install Storybook using the initializer
If you install Storybook using the built in initializer, it will do most of the setup work for you. In the root directory of your project run
npx -p @storybook/cli sb initWhen you get asked if you want to install the storybook server, type yes. The server will show your story tree in a web UI but won’t actually show you the rendered components. It’s very handy for navigating the stories though when you amass enough of them.
If you use TypeScript, don’t forget to install the types and convert all files:
npm install @types/storybook__react --save-devIf everything went well, your folder structure should look like this: (Assuming you use TypeScript)
storybook/:
./stories
./addons.ts
./index.tsx
./rn-addons.ts
2. Run the Storybook UI on your device
The export coming from storybook/index.tsx is a simple React component. This means you can render it like you would any other component. The simplest way to show the UI in your simulator is by mounting it instead of the actual app. That would mean changing the root index.js like so:
import { AppRegistry } from "react-native";

import StorybookUIRoot from "./storybook";

AppRegistry.registerComponent("MyApp", () => StorybookUIRoot);
And adjusting the storybook/index.tsx like so:
import { getStorybookUI, configure } from '@storybook/react-native';
import './rn-addons';
// import stories
configure(() => {
require('./stories');
}, module);
const StorybookUIRoot = getStorybookUI({});
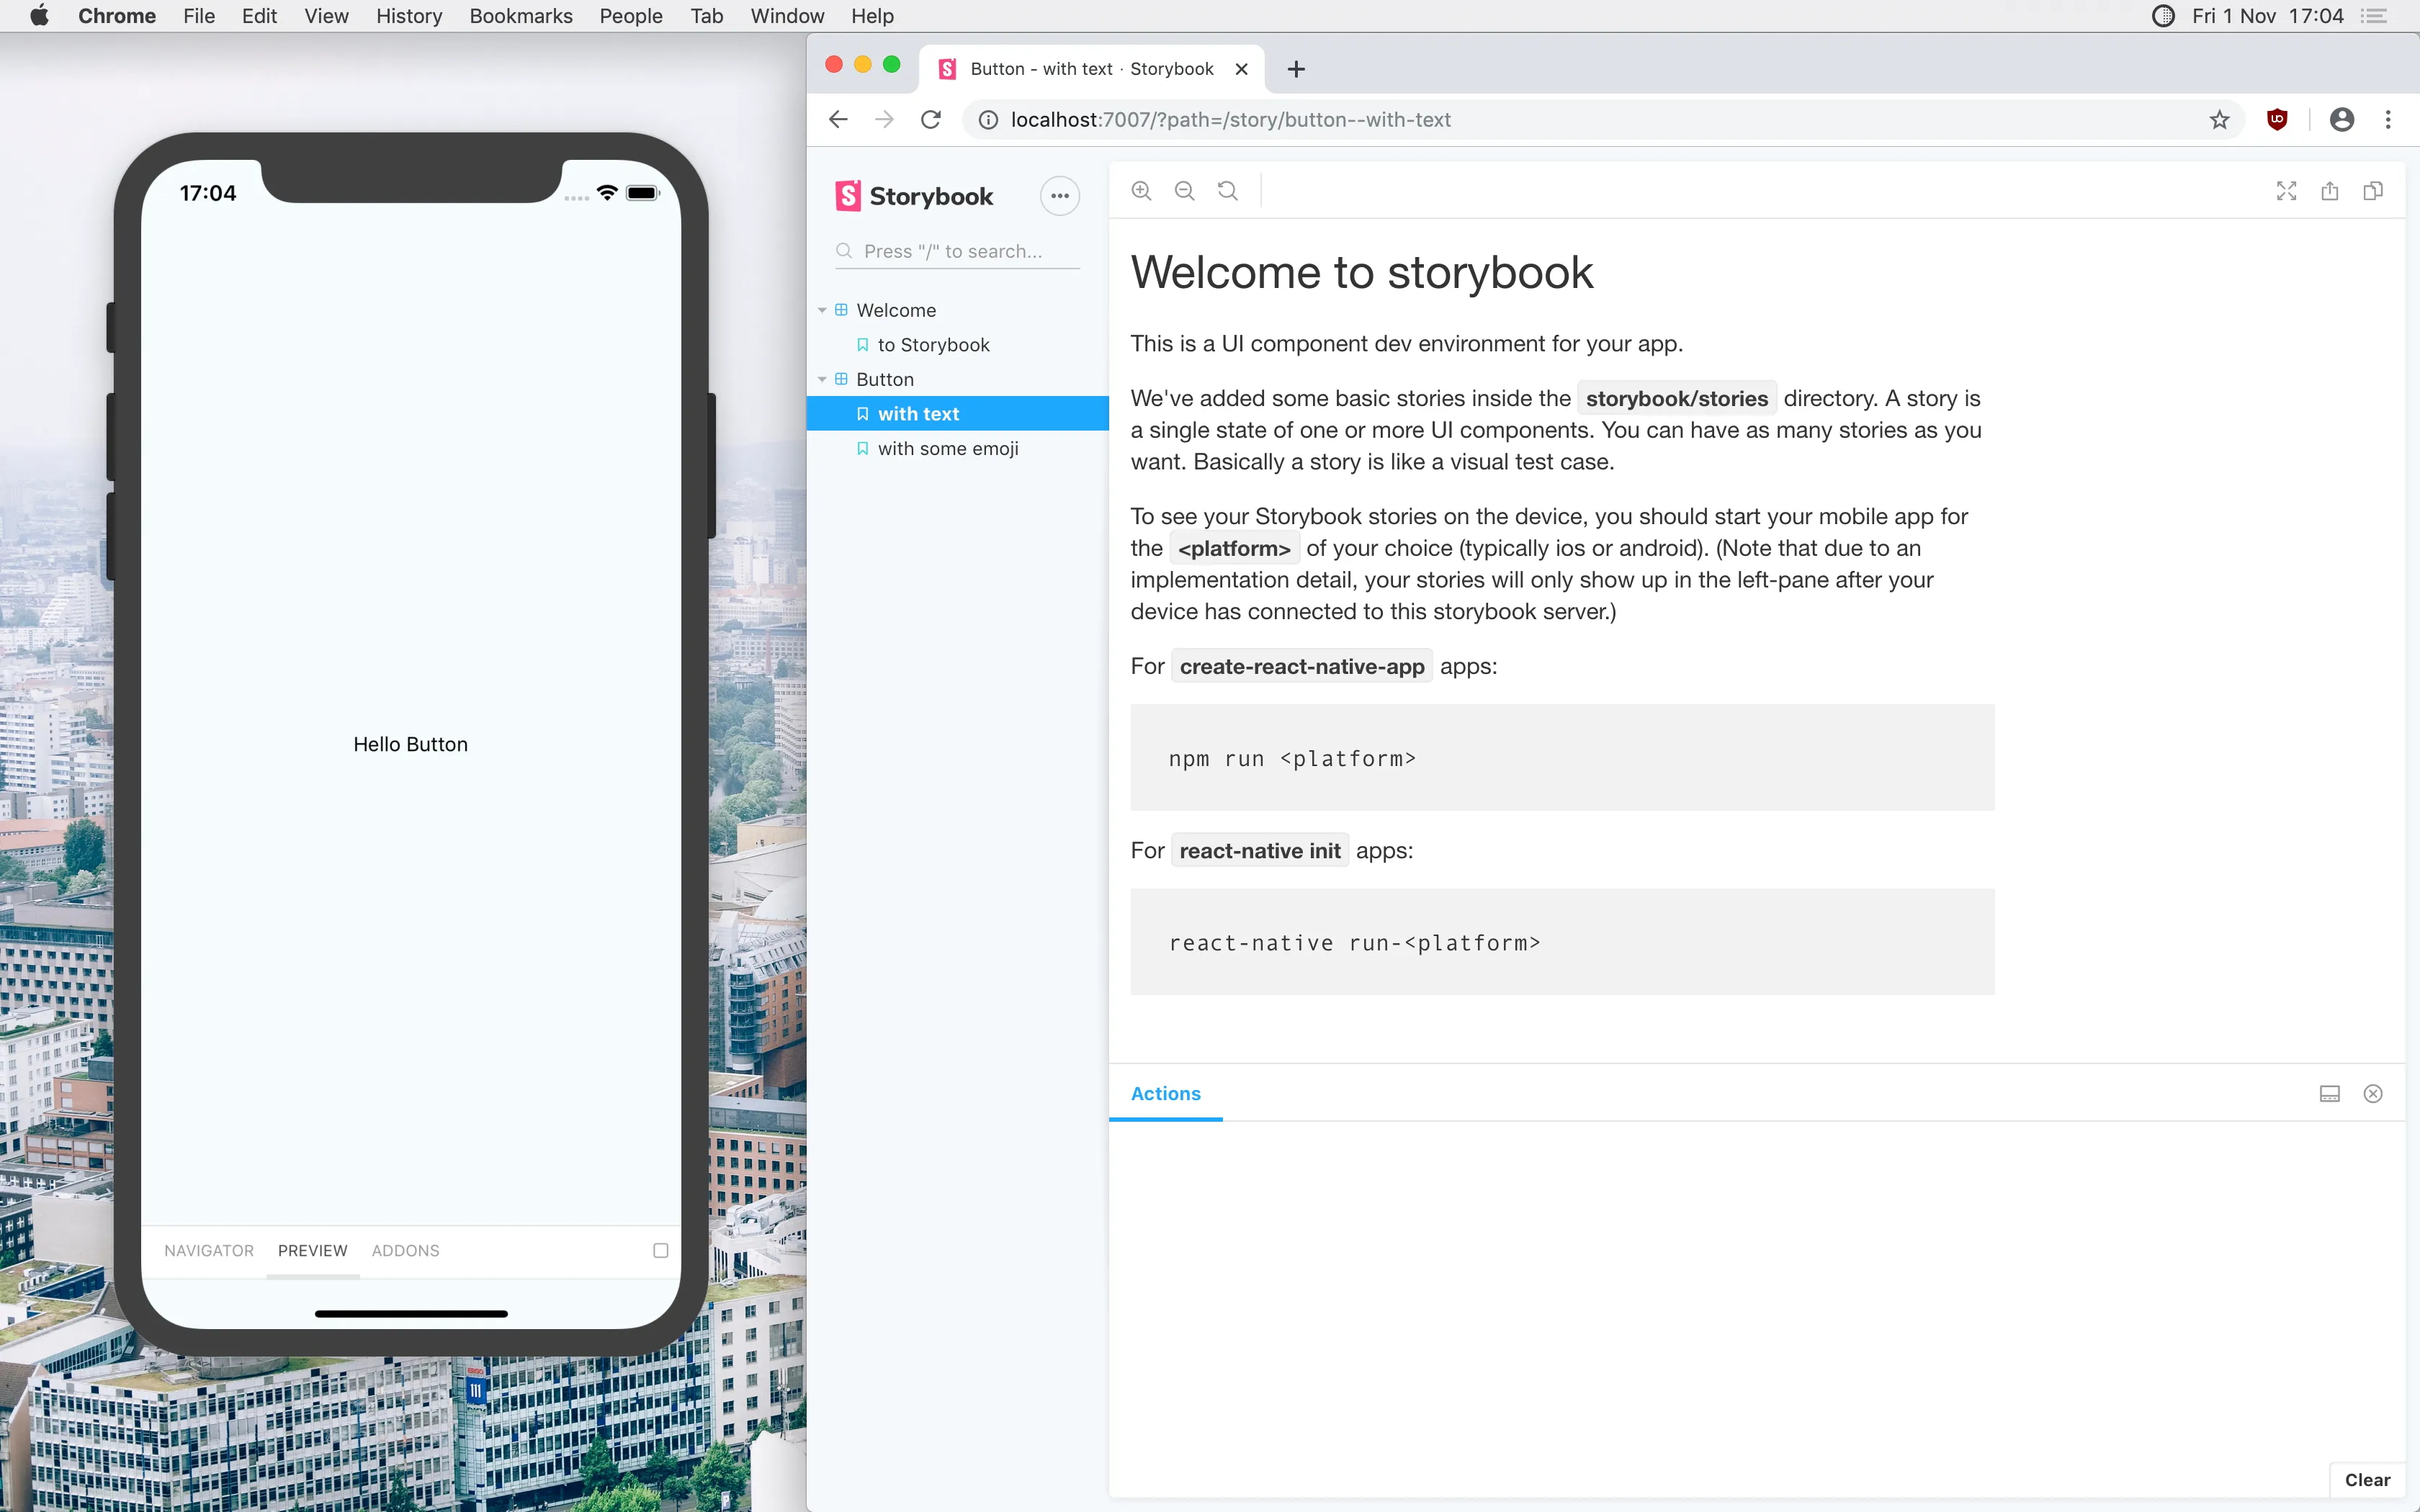
export default StorybookUIRoot;If you want, you can control the simulator UI using the Storybook Web UI. To do this, you need to first run npm run storybook, When the server has finished launching, run the app as usual with npm run ios/android. Note that the actual design elements will never show in the browser UI, only on your device.
3. Run the Storybook UI side by side with the app on your device
Chances are, you would like to still be able to see the actual app and only show the Storybook UI on request. And only when you’re running in dev mode. To do this, we can use the device dev menu. Install
npm install react-native-dev-menu --save-devAnd then create a new file called Root.tsx with the following content:
import React, { useCallback, useEffect, useState } from "react";

import Storybook from "../storybook";
import App from "./App";

const Root = () => {
  const [storybookActive, setStorybookActive] = useState(false);
  const toggleStorybook = useCallback(
    () => setStorybookActive(active => !active),
    []
  );

  useEffect(() => {
    if (__DEV__) {
      // eslint-disable-next-line @typescript-eslint/no-var-requires
      const DevMenu = require("react-native-dev-menu");
      DevMenu.addItem("Toggle Storybook", toggleStorybook);
    }
  }, [toggleStorybook]);

  return storybookActive ? <Storybook /> : <App />;
};

export default Root;
Here, we’re creating a Storybook toggle in the dev menu but only when we’re actually running the app in dev mode. On toggle, we’re mounting either the Storybook UI or the ‘regular’ app.
Following that, we need to change the import in the index.js file:
import { AppRegistry } from "react-native";

import { name as appName } from "./app.json";
import Root from "./src/Root";

AppRegistry.registerComponent(appName, () => Root);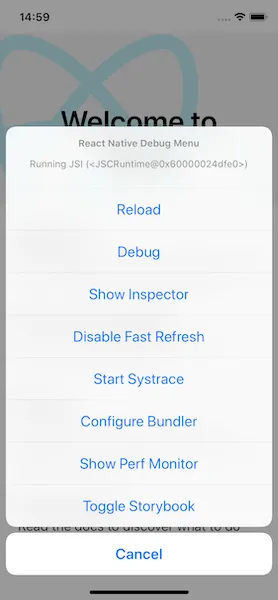
Writing Stories and using add-ons
Registering an Add-On
One of the most useful add-ons in storybook is knobs. It allows you to use toggles and dropdowns (amongs other things) to change the props of the components you’re rendering in your story. It will serve as an example on how to set up add-ons on React Native:
Install both the browser and the on-device version:
npm install @storybook/addon-knobs @storybook/addon-ondevice-knobs --save-devRegister the add-on in both the addons.ts and rn-addons.ts files.
rn-addons.ts:
import "@storybook/addon-ondevice-knobs/register";addons.ts
import "@storybook/addon-knobs/register";And then you’re ready to go. To find out how to use knobs have a look at the examples in the official README.
Wrapping Storybook with Providers
Before you can render one of your components in storybook there is a bit of house keeping. Step number one is wrapping the Storybook base component in all the providers you need (e.g. i18n libraries). The providers can be mocked away but depending on how complex your provider is it might not be worth it. For our i18n library for example we’re using the actual implementation. If you need to use redux or axios for example you will probably want to mock those out though.
index.tsx:
import "./rn-addons";

import { configure, getStorybookUI } from "@storybook/react-native";
import React from "react";
import { I18nextProvider } from "react-i18next";

import i18n from "../src/i18n";

configure(() => {
  require("./stories");
}, module);

const StorybookComponent: React.FC = () => (
  <I18nextProvider i18n={i18n}>{getStorybookUI({})}</I18nextProvider>
);

export default StorybookComponent;
Conclusion
Now you’re all set up and ready to use Storybook with your React Native App. Be aware that Storybook can unfortunately be a bit fiddly and buggy sometimes. But if you work out the kinks it can be a great resource to your team.